DIY: Installing DuraLux Highland Gray luxury vinyl plank
This summer, I was supposed to take my first ever trip to the British Virgin Islands. But, as you can imagine, 2020 completely threw those plans out the window.
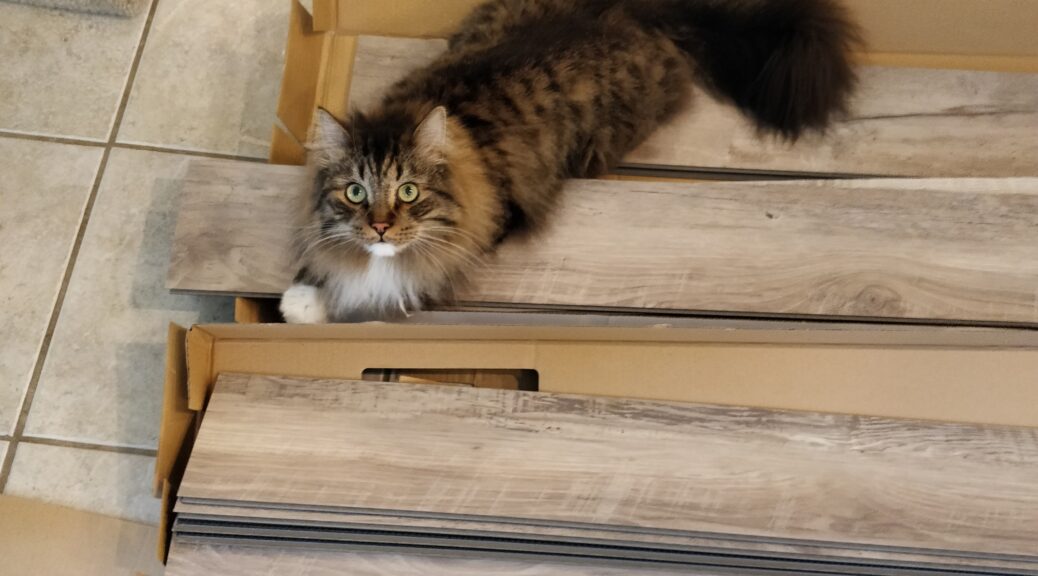
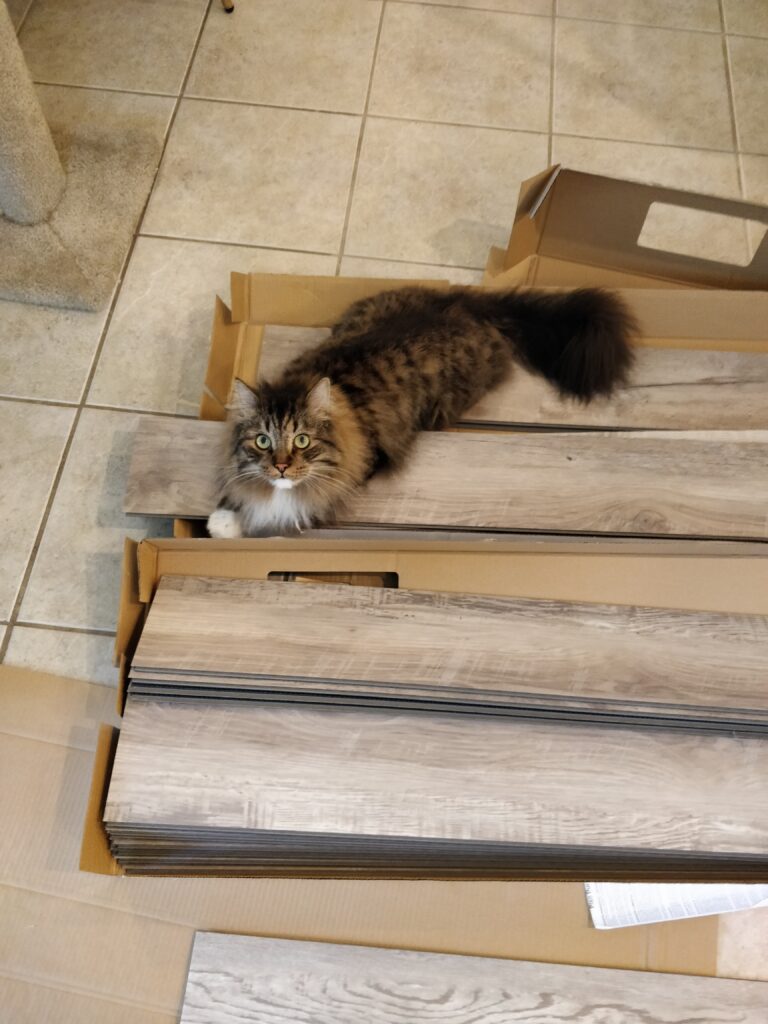
So, with a week of PTO already on the calendar, my husband and I decided to tackle a home project we’ve long been talking about– installing luxury vinyl plank. We had previously picked out the DuraLux Performance Highland Gray Rigid Core Luxury Vinyl Plank at Floor & Decor and decided it was time to finally take the plunge.
We selected the DuraLux Highland Gray as it’s considered a ‘floating’ floor and can be installed over other flooring, including tile. We had initially been looking at more solid gray options, but choose the DuraLux Highland Gray as it has hints of white, brown, and gray. There’s actually 6 different styles of planks, so the completed floor has a very unique, distressed custom look that I absolutely love! It claims to be scratch and stain resistant and comes with a sound-reducing underlayment.
Installing DuraLux Highland Gray Luxury Vinyl Plank
Let me start this off my saying, neither me, nor my husband are expert contractors by any means, but we successfully installed floors that have (so far) survived daily living and two cats.
The first thing we did was measure the rooms where we planned to install our flooring and came up with a rough guesstimate of a little 600 square feet, which equates to about 27 boxes. It’s recommended you give yourself some extra in case of bad cuts and waste during the process. (We actually ended up with 3 extra unopened boxes that we plan to return, so we may have gone a little overboard.)
After bringing all of those boxes home and unloading them, which was no small task as each box weighs 40 pounds, it was time to get to work.
That meant ripping up the quarter round on the baseboards which was way more difficult than we expected. Whoever installed the tile floors in our home really went crazy with the caulking. But with the help of YouTube, we were able to figure it out eventually.
Once all the quarter round was removed and the tile floor was vacuumed, it was time to begin the actual installation of the luxury vinyl plank. Part of why we chose this type of flooring was the ability to lay it over our tile. Again, we consulted YouTube.
The video below was extremely helpful with getting the big picture of how all of the boards fit together and the importance of spacers.
Installing the floors when dealing with straight walls and no odd corners was a simple process, but when it came time to make tricky cuts, the below video provided a key strategy using pieces of paper. If you want to skip ahead, it’s right around the 3:00 minute mark.
That’s all there really is to it. It’s tedious work that takes time, but nothing about the process is necessarily hard.
Our most used tools for this project were the following:
- Mallet
- Putty knife
- Flat pry bar (great for removing quarter round)
- Miter saw (A table saw could also work)
- Jig saw (highly recommend getting a laminate blade instead of using the all-purpose one)
- Air compressor+nail gun to reinstall quarter round
- Knee pads/kneeling pad
- Ruler+measuring tape
- Electric drill
- Wrenches (if you need to temporarily remove a toilet)
- Utility knife
Final Thoughts on installing DuraLux Highland Gray LVP
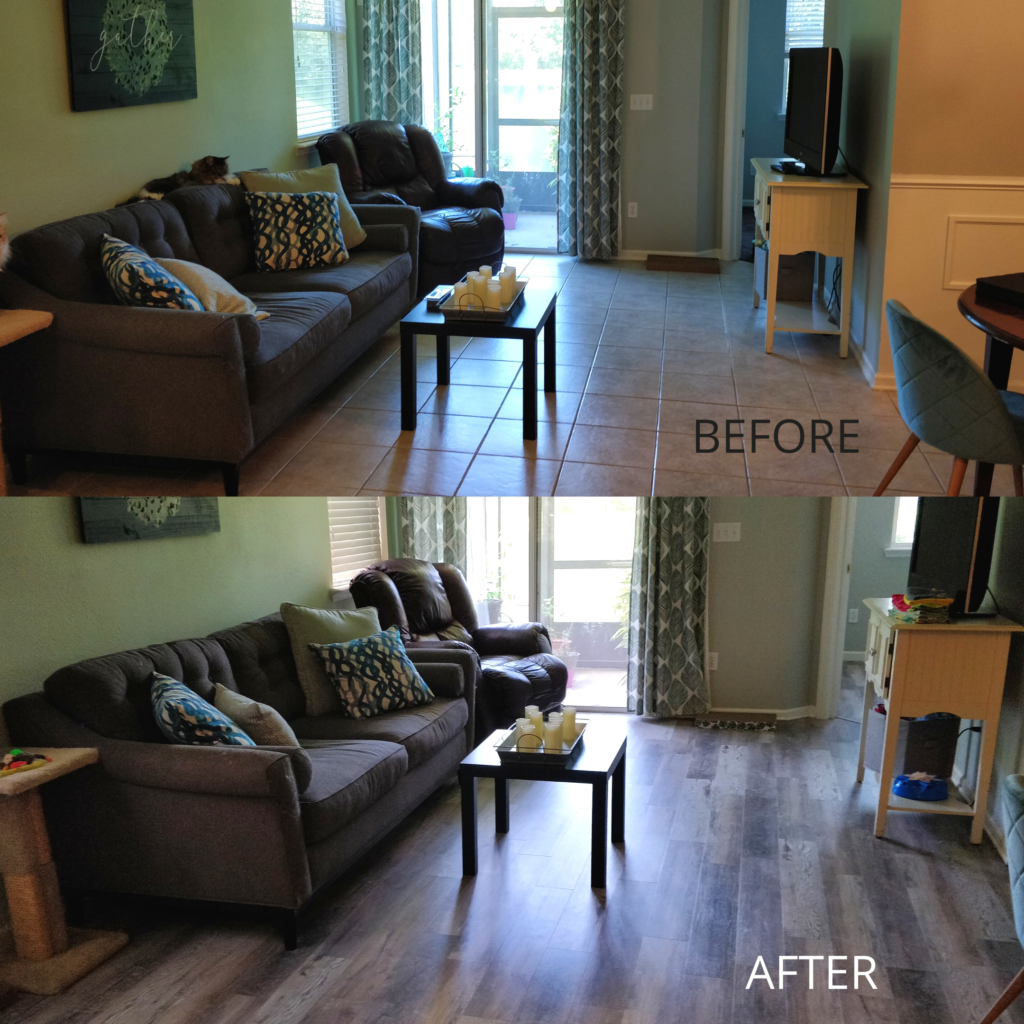
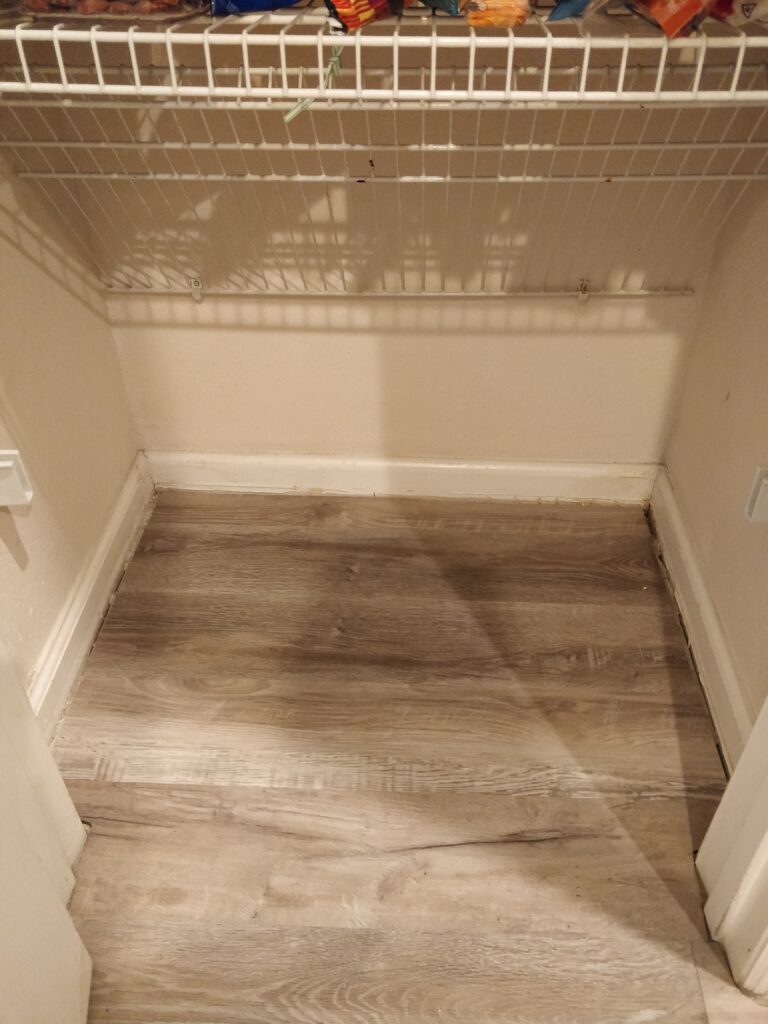
I don’t know that I’ve ever been more sore in my life. Installing a little over 600 square feet of the luxury vinyl plank took us almost the full week, but I could not be more happy with the results. Before, with the tile, I wanted to buy rugs to cover it all up; now I want to show the floors off! We still need to buy quarter round to replace the parts we broke and then caulk, but the hard part is done. Now it’s just the finishing touches.
Would I do it again?
Maybe. There’s no denying this is hard work. For projects this big, I would consider hiring a professional in the future. However, if I was planning to install luxury vinyl plank in a bathroom or laundry room, I would probably do it myself.
I’m glad this project is behind me, so I can turn my focus to tackling my 2020 summer bucketlist!
12 thoughts on “DIY: Installing DuraLux Highland Gray luxury vinyl plank”
Ok these floors are gorgeous!! Can’t wait to consult y’all when we do our floors 😍😍
Thank you!! We’re happy to help!
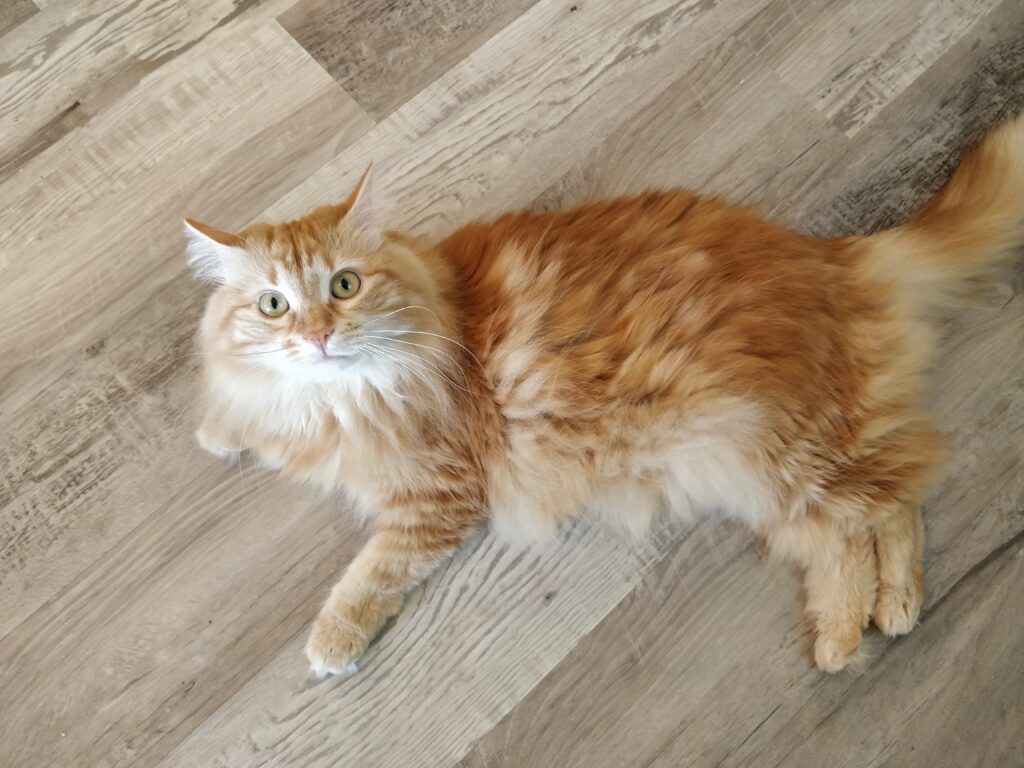
Looks like everything came out great! Beautiful cats by the way!
Thanks! I’ll tell them you said so!
-Sarah
This look so good!! I’m so impressed you guys were able to figure it out and do it all yourselves! The hard work paid off 🙂
Thanks Amber!! I can’t wait for you to see them in person. I’m not sure the photos do it justice.
-Sarah
Hi, now that you’ve lived with the duralux product for a year, what are your thoughts? Has the luxury vinyl plank lived up to the manufacturer’s promises? Thanks, Kim
Hi Kim,
One year later and we are still very happy with our Duralux floors! We haven’t had any issues with chipping, scratching, bubbling, or anything else. Even the spots where our cats spill food and water have held up too.
We haven’t really dealt with any expansion of the floors either, so we probably could have placed the panels even closer to the wall. We played it safe with the spacers when we installed.
Hope that helps!
-Sarah
Hi there! Did you guys fill in the grout lines before laying? Curious if you have noticed any “indents” in vinyl planks where grout was? This is what is holding us back from redoing our tile floors!
Hi Rachel,
No, we did nothing to the tile or grout lines before laying down the planks. We just placed it all right on top.
We don’t have any issues with any ‘indents’ from the grout areas. However, there is one spot where two planks meet that is not entirely sealed like the others. It appears that the particular tile underneath that area was not completely flat and jutted up at one corner. That said, the floor is still completely connected and stable (and NOT a tripping hazard or anything), it’s just not as flush as the other ones where it connects if that makes sense.
It’s something that you really only notice if you’re a perfectionist like me. If I was doing it over again, I would probably try to remove some of that particular tile with a hammer, so it was 100% level.
I wish you luck with your project if you decide to go for it!
-Sarah
Hi there,
Considering putting this in our new house (Duralux Performance). Is it still holding up now that its 2.5 years later?
Thanks
Hi Maximus-
The floors still look as good as the day we installed them! I haven’t noticed any issues with wear and tear, nor with spilled water. I really don’t have any complaints.
I appreciate the question!
-Sarah